Professional manufacturer of asphalt equipment
A Complete Guide to Asphalt Tank Installation and Commissioning
Release Date:
Proper installation and commissioning are critical to ensuring the safety, efficiency, and long service life of asphalt tanks. This complete guide covers every key step from site preparation to final
Proper installation and commissioning are critical to ensuring the safety, efficiency, and long service life of asphalt tanks. This complete guide covers every key step from site preparation to final testing, helping you avoid common mistakes and achieve stable operation for your asphalt storage and heating system.
1. Pre-Installation Preparation
Before installing an asphalt tank, thorough preparation ensures smooth construction and compliance with safety standards.
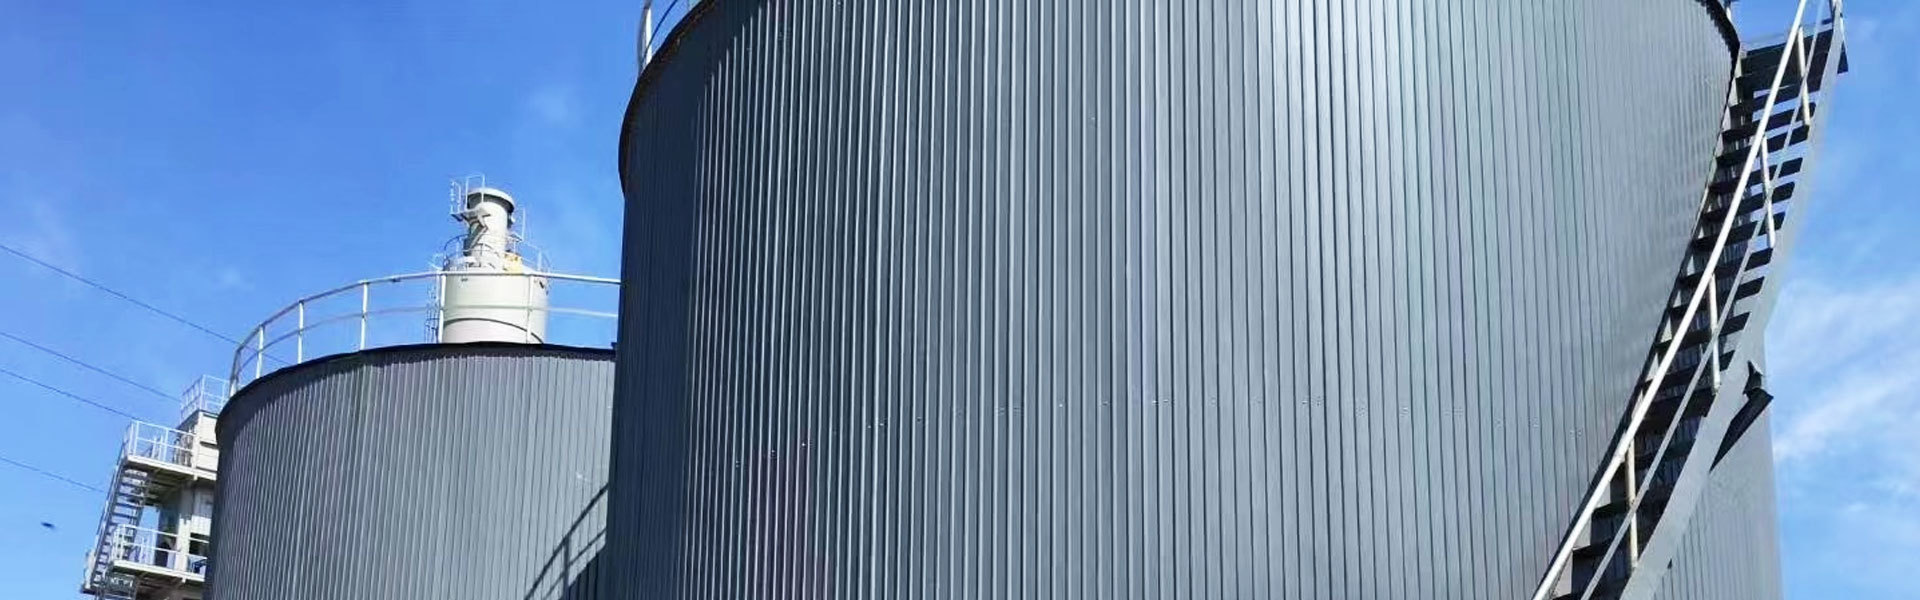
Site Selection & FoundationChoose a flat, solid, and well-drained site. The foundation must be reinforced concrete to support the full weight of the tank, asphalt, and heating equipment. Avoid low-lying areas where water may accumulate.
Check Equipment & AccessoriesInspect the tank body, heating coils, insulation layer, pipelines, valves, sensors, and control cabinet for damage or missing parts. Verify dimensions, flange positions, and pipeline interfaces to match the design.
Safety PreparationPrepare fire-fighting equipment, warning signs, and protective gear. Ensure the work area is clear of flammable materials.
2. Asphalt Tank Installation Steps
2.1 Tank Placement & Leveling
Hoist the tank gently using appropriate lifting equipment.
Place it accurately on the foundation and adjust the level using a spirit level.
Secure the tank with anchor bolts to prevent displacement.
2.2 Pipeline Installation
Install inlet, outlet, overflow, exhaust, and drain pipelines correctly.
Use high-temperature resistant gaskets and fasten flanges tightly to prevent leakage.
Ensure a proper slope for asphalt pipelines to facilitate flow and cleaning.
2.3 Heating System Installation
Install heating coils, heat-conducting oil pipes, or electric heating components as designed.
Check for tight connections to prevent heat medium leakage.
Install insulation materials to reduce heat loss and improve energy efficiency.
2.4 Electrical & Control System Installation
Connect the control cabinet, temperature sensors, liquid level meter, and alarm devices.
Ensure wiring is standardized, waterproof, and high-temperature resistant.
Ground the system properly to avoid electrical hazards.
3. Commissioning of Asphalt Tank
Commissioning is performed after installation to verify performance and safety.
3.1 Leakage Test
Conduct a pressure test or water filling test to check tank body and pipelines for leaks.
Repair any leaks immediately before proceeding.
3.2 Empty Machine Test
Run the heating and control system without asphalt.
Check whether the pump, valve, and control panel work normally.
Test temperature control accuracy and alarm functions.
3.3 Heating System Debugging
Gradually heat the system to the design temperature.
Observe temperature uniformity and heating stability.
Adjust parameters to ensure stable and efficient heating.
3.4 Asphalt Loading Test
Inject qualified asphalt into the tank gradually.
Test stirring (if equipped), insulation, and temperature maintenance functions.
Verify normal discharge and no blockage or leakage.
4. Safety & Operational Notes
Always follow operating instructions and safety regulations.
Do not exceed the maximum working temperature or liquid level.
Regularly check for leaks, abnormal noise, or overheating.
Keep the surrounding area clean and free of flammable materials.
Conduct periodic inspections and maintenance to extend service life.
Conclusion
A standardized installation and commissioning process directly affects the performance and safety of an asphalt tank. By following this complete guide, you can ensure stable operation, reduce failure rates, and improve the efficiency and economy of your asphalt storage system.
LATESTS NEWS
sphalt Tank Insulation and Anti-Corrosion Design: How to Reduce Heat Loss and Extend Equipment Service Life
2026-01-09
Asphalt Tank Core Structure Analysis: Design Key Points of Insulation Layer, Heating System and Agitation Device
2025-12-15
Asphalt Tank Selection Guide: Core Decision Factors from Capacity and Material to Heating Method
2025-12-02
Emulsified Asphalt Equipment Selection Guide: How to Match Colloid Mill Types and Production Capacity to Road Construction Needs?
2025-11-24


