Professional manufacturer of asphalt equipment
Daily Maintenance Essentials for Asphalt Tanks: Practical Tips for Anti-Corrosion, Thermal Insulation and Heating System Maintenance
Release Date:
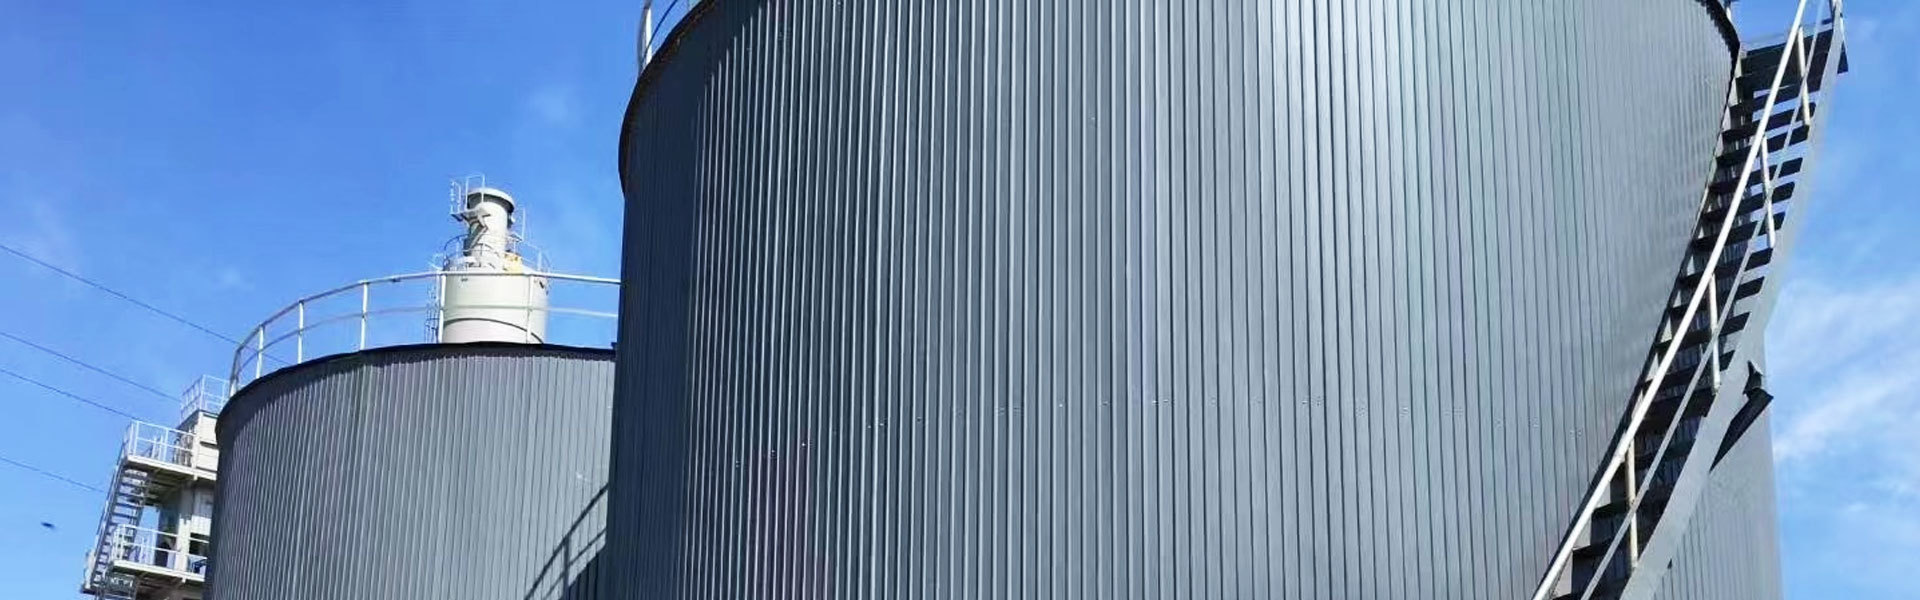
Asphalt tanks serve as the core storage facility for asphalt, a high-viscosity material sensitive to temperature and environmental factors. Poor daily maintenance can lead to issues such as tank corrosion, heat loss, and heating system failures—resulting
Asphalt tanks serve as the core storage facility for asphalt, a high-viscosity material sensitive to temperature and environmental factors. Poor daily maintenance can lead to issues such as tank corrosion, heat loss, and heating system failures—resulting in asphalt quality degradation, increased energy consumption, or even safety hazards like leaks. To ensure the long-term stable operation of asphalt tanks and maintain the usability of stored asphalt, a systematic maintenance approach focusing on anti-corrosion, thermal insulation, and heating system upkeep is essential. This guide details actionable tips and schedules for each key area, tailored to both fixed and mobile asphalt tanks.
1. Anti-Corrosion Maintenance: Prevent Tank Degradation from Internal and External Factors
Asphalt tanks (especially carbon steel tanks) are prone to corrosion from two main sources: internal asphalt residues and moisture (during tank cleaning or asphalt storage) and external environmental factors (rain, humidity, salt spray in coastal areas). Effective anti-corrosion maintenance requires regular inspection, cleaning, and protective measures.
1.1 Regular Inspection: Identify Corrosion Early
Frequency: Conduct a comprehensive visual inspection every 2 weeks; perform a detailed inspection with detection tools (e.g., ultrasonic thickness gauge) every 3 months.
Key Checkpoints:
Tank Exterior: Look for rust spots, peeling paint, or pitting on the tank wall, bottom, and weld joints. Pay special attention to areas near the ground (prone to moisture accumulation) and around pipe connections (vulnerable to stress corrosion).
Tank Interior: After emptying the tank (e.g., during asphalt replenishment cycles), inspect the inner wall for asphalt residue buildup (which traps moisture and accelerates corrosion) and signs of localized corrosion (e.g., red rust or black oxide). Use an ultrasonic thickness gauge to measure the wall thickness—if the thickness decreases by more than 10% of the original (e.g., from 8mm to 7.2mm), schedule repair or reinforcement.
1.2 Cleaning: Remove Corrosion-Causing Substances
Exterior Cleaning: Every month, wash the tank exterior with a high-pressure water jet (pressure ≤ 15MPa) to remove dust, salt, and dirt. Avoid using acidic or alkaline cleaners (e.g., bleach) as they can damage the protective paint layer.
Interior Cleaning: After emptying the tank (at least once every 6 months), use a scraper to remove hard asphalt residues from the inner wall, then rinse with hot water (temperature 80–90°C) to dissolve remaining soft residues. For stubborn residues, use a non-abrasive cleaning agent (e.g., biodegradable asphalt solvent) and a soft brush—never use steel wool or sandpaper, which scratches the inner wall and exposes it to corrosion.
1.3 Protective Measures: Reinforce Anti-Corrosion Layers
Exterior Coating: If peeling paint or rust is found, sand the affected area with 120-grit sandpaper until the metal surface is smooth, then apply two coats of industrial anti-corrosion paint (e.g., epoxy resin paint for indoor tanks, polyurethane paint for outdoor tanks). Ensure the paint is fully cured (72 hours at 25°C) before exposing the tank to the elements.
Interior Protection: For new tanks or after interior cleaning, apply a food-grade asphalt-resistant coating (e.g., modified epoxy coating) to the inner wall. Reapply the coating every 2 years to maintain its integrity. For tanks storing polymer-modified asphalt (which is more corrosive), add a layer of stainless steel (304 grade) lining to high-wear areas (e.g., near the asphalt inlet/outlet).
2. Thermal Insulation Maintenance: Minimize Heat Loss and Energy Waste
Asphalt requires constant temperature maintenance (typically 120–180°C, depending on grade) to keep its fluidity. Damaged thermal insulation leads to heat loss, increased heating system workload, and higher fuel/electricity costs. Maintenance of thermal insulation systems focuses on insulation layer integrity and seal tightness.
2.1 Inspection of Insulation Layers
Frequency: Visual inspection every 2 weeks; thermal imaging inspection every 3 months (to detect hidden heat loss).
Key Checkpoints:
Insulation Material: Check for cracks, gaps, or compression in the insulation layer (common materials include rock wool, glass wool, or polyurethane foam). For example, if rock wool insulation becomes wet (from rain or condensation), it loses 50% of its thermal efficiency—replace wet insulation immediately.
Outer Cladding: Inspect the metal or PVC cladding covering the insulation layer for dents, holes, or loose fasteners. A damaged cladding allows moisture to penetrate the insulation; repair small holes with aluminum tape and replace severely damaged cladding sections.
2.2 Thermal Efficiency Testing
Use a thermal imaging camera to scan the tank exterior during normal operation. Areas with abnormal heat loss (indicated by higher temperatures on the thermal image, e.g., 40°C vs. the normal 25°C) indicate insulation gaps. Mark these areas and repair them within 48 hours.
Measure the temperature difference between the tank interior (via built-in temperature sensors) and the exterior. The ideal temperature difference should be ≤ 15°C; if it exceeds 20°C, add an additional layer of insulation (e.g., 50mm thick rock wool) to the affected area.
2.3 Seal Maintenance
Joints and Penetrations: Inspect the seals around pipe penetrations (e.g., heating pipes, asphalt inlet/outlet pipes) and tank lid joints for wear or gaps. Replace aged rubber gaskets with high-temperature-resistant gaskets (e.g., silicone rubber, rated for 200°C+). Apply a heat-resistant sealant (e.g., high-temperature silicone sealant) to gaps between the insulation layer and pipe surfaces.
Tank Lid: Ensure the tank lid closes tightly to prevent heat escape and moisture entry. Lubricate the lid hinges and latches monthly with high-temperature grease (to prevent seizing) and check the lid’s insulation pad—replace it if it shows signs of compression or damage.
3. Heating System Maintenance: Ensure Stable Temperature Control
The heating system (e.g., fuel-fired heaters, electric heating coils, or steam jackets) is critical for maintaining asphalt temperature. Common failures include heater blockages, temperature sensor inaccuracies, and fuel/electricity supply issues. Maintenance focuses on system functionality, cleanliness, and safety.
3.1 Fuel-Fired Heating Systems (Common in Large Tanks)
Daily Checks:
Inspect the fuel tank level and ensure the fuel filter is clean (replace the filter every 1 month). A clogged filter reduces fuel flow and causes incomplete combustion.
Check the burner flame—normal flame color is blue with a small yellow tip; a yellow or smoky flame indicates insufficient air or dirty burner nozzles. Clean the burner nozzle with a soft brush and adjust the air damper to optimize combustion.
Weekly Maintenance:
Clean the heat exchanger tubes to remove soot buildup (use a soot blower or compressed air). Soot reduces heat transfer efficiency by up to 30%.
Inspect the fuel supply line for leaks (use a soapy water solution—bubbles indicate leaks) and tighten loose fittings. Replace damaged hoses with high-pressure fuel hoses rated for the system’s operating pressure.
Monthly Inspection:
Test the temperature control system: Set the desired temperature and verify that the heater turns on/off automatically when the tank temperature deviates by ±5°C. Calibrate the temperature sensor if inaccuracies exceed ±3°C (use a calibrated thermometer for reference).
3.2 Electric Heating Systems (Common in Small/Mobile Tanks)
Daily Checks:
Inspect the power cord and plug for damage (e.g., frayed wires, bent prongs). Replace damaged cords immediately to prevent short circuits.
Check the heating coil for signs of overheating (e.g., discoloration or deformation). If the coil is damaged, replace it with a coil of the same wattage and voltage (e.g., 220V/5kW for small tanks).
Weekly Maintenance:
Clean the heating coil surface to remove asphalt residue (use a soft cloth dipped in hot water). Residue buildup reduces heat transfer and can cause the coil to overheat.
Test the overheat protection device: Manually trigger the device (per manufacturer instructions) and confirm that the heating system shuts off immediately. Reset the device and verify normal operation.
LATESTS NEWS
sphalt Tank Insulation and Anti-Corrosion Design: How to Reduce Heat Loss and Extend Equipment Service Life
2026-01-09
Asphalt Tank Core Structure Analysis: Design Key Points of Insulation Layer, Heating System and Agitation Device
2025-12-15
Asphalt Tank Selection Guide: Core Decision Factors from Capacity and Material to Heating Method
2025-12-02
Emulsified Asphalt Equipment Selection Guide: How to Match Colloid Mill Types and Production Capacity to Road Construction Needs?
2025-11-24


