Professional manufacturer of asphalt equipment
How to Maintain Asphalt Tanks: Preventing Corrosion, Blockages, and Thermal Inefficiencies
Release Date:
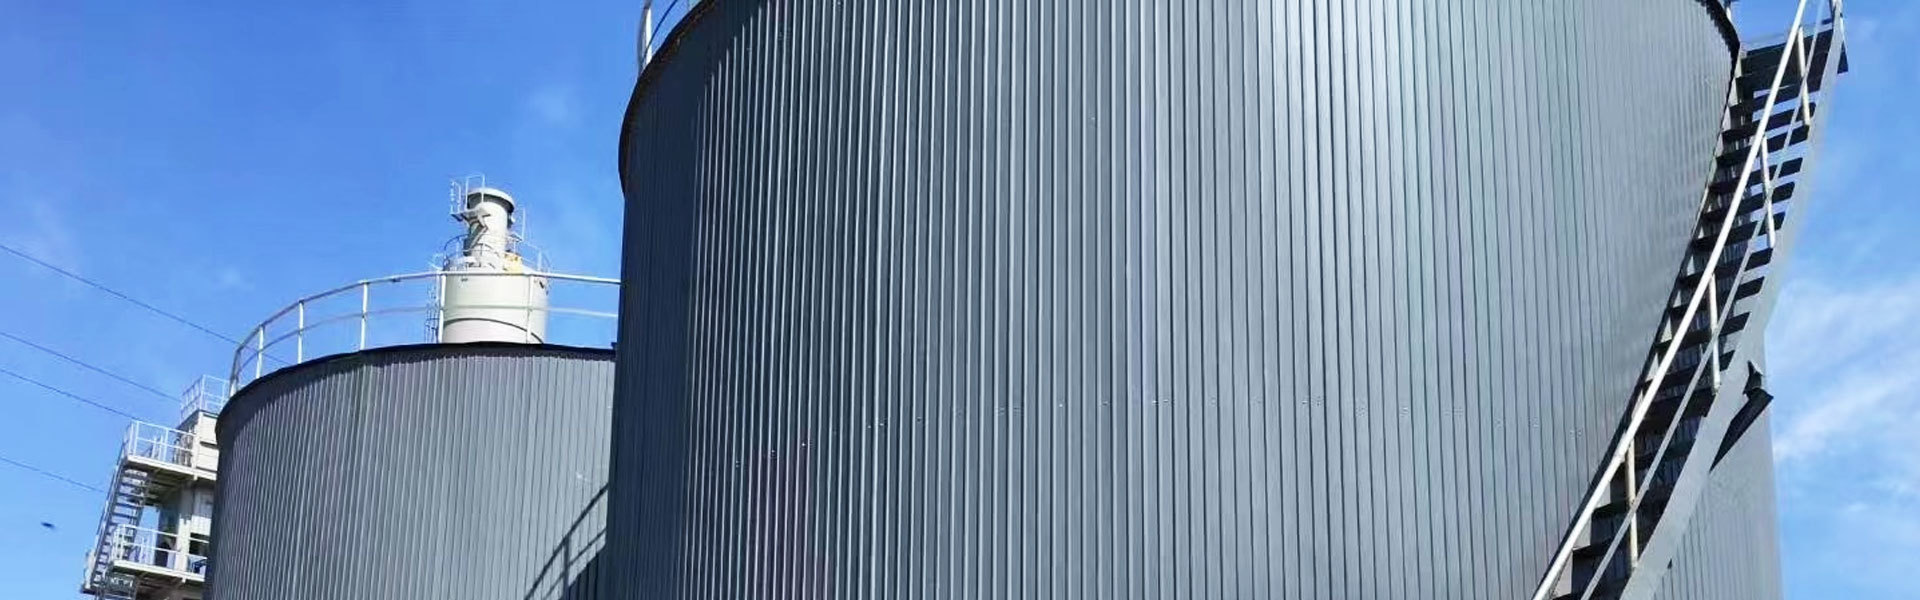
Asphalt tanks are workhorses of road construction, roofing, and industrial applications—relying on consistent heat, structural integrity, and unobstructed flow to keep asphalt workable. However, three persistent issues threaten their performance and lifes
Asphalt tanks are workhorses of road construction, roofing, and industrial applications—relying on consistent heat, structural integrity, and unobstructed flow to keep asphalt workable. However, three persistent issues threaten their performance and lifespan: corrosion (from moisture and chemical exposure), blockages (from asphalt solidification or sediment buildup), and thermal inefficiencies (from insulation degradation or heating system failures). Neglecting maintenance can lead to costly repairs, production downtime, or even tank failure.
This article outlines a structured maintenance framework to prevent these issues, with actionable steps for daily, monthly, and annual tasks. It also addresses troubleshooting tips for early problem detection, ensuring your asphalt tank operates reliably and efficiently.
I. Understanding the Stakes: Why Asphalt Tank Maintenance Matters
Before diving into maintenance tasks, it’s critical to quantify the impact of neglect:
Corrosion: Unchecked rust can weaken tank walls, leading to leaks (costing $10,000–$50,000 to repair, plus asphalt loss) or catastrophic tank failure (requiring full replacement, $50,000–$200,000+).
Blockages: Solidified asphalt or sediment in pipes, pumps, or heating coils can halt operations for 8–24 hours while crews clear clogs—delaying construction projects and incurring labor overtime.
Thermal Inefficiencies: Degraded insulation or faulty heaters can increase energy costs by 30–50% (for a 50,000-gallon tank, that’s $1,500–$7,500 extra annually) and cause asphalt to thicken, reducing workability.
Proactive maintenance mitigates these risks, extending tank lifespan by 5–10 years and delivering a 2–3x return on investment (ROI) through reduced repairs and energy savings.
II. Preventing Corrosion: Protecting Tank Structure and Components
Corrosion is the #1 threat to asphalt tank longevity. It occurs when moisture (from rain, condensation, or asphalt’s inherent water content) reacts with the tank’s metal (typically carbon steel) or exposed components. Below is how to prevent and address it:
1. Daily/Weekly Corrosion Checks
Inspect tank exteriors: Look for rust spots, paint peeling, or pitting—focus on welds, seams, and areas near the tank base (where moisture accumulates). Use a wire brush to remove surface rust immediately; apply a rust-inhibiting primer to prevent spread.
Check moisture traps: Asphalt tanks have moisture traps (in vent lines or heating systems) to capture condensation. Empty traps daily (or after rainstorms) to prevent water from dripping onto tank walls or seeping into insulation.
Monitor asphalt water content: Use a moisture meter to test incoming asphalt—water content >0.5% accelerates internal corrosion. Reject loads with excess moisture, or use a dewatering system to remove water before storage.
2. Monthly Corrosion Maintenance
Inspect internal linings (for lined tanks): If your tank has an epoxy or polymer lining (to resist asphalt’s acidic components), use a borescope to check for cracks, blisters, or peeling. Small cracks can be repaired with a compatible lining patch; large areas require professional re-lining.
Treat tank internals (for unlined tanks): For carbon steel tanks without linings, add a corrosion inhibitor (e.g., amine-based additives) to the asphalt monthly. Follow the manufacturer’s dosage (typically 0.1–0.2% of tank volume) to form a protective film on tank walls.
Clean and paint exterior surfaces: Wash the tank exterior with a mild detergent to remove dirt, salt (in coastal areas), or asphalt residue. Touch up chipped paint with a high-temperature, corrosion-resistant paint (rated for 200–250°C) to maintain a barrier against moisture.
3. Annual Corrosion Deep Dive
Perform ultrasonic thickness testing: Hire a professional to use ultrasonic equipment and measure tank wall thickness—pay special attention to the bottom third of the tank (where sediment and moisture collect). If thickness is reduced by 20% or more (e.g., from 10mm to 8mm), repair or reinforce the area with steel plates.
Inspect anode systems (for cathodic protection): Some large tanks use sacrificial anodes (e.g., zinc or magnesium) to prevent corrosion. Replace anodes that are 50% or more depleted (check via weight loss or voltage testing) to maintain protection.
Seal roof and vent penetrations: Over time, gaskets around roof hatches, vents, or level sensors degrade, allowing rainwater to enter. Replace old gaskets with heat-resistant silicone gaskets (rated for 250°C) and apply a high-temperature sealant to gaps.
III. Preventing Blockages: Ensuring Unobstructed Asphalt Flow
Blockages form when asphalt cools below its softening point (solidifying in pipes or pumps) or when sediment (e.g., aggregate fines, dirt) accumulates in low-flow areas. Here’s how to keep flow paths clear:
1. Daily Blockage Prevention
Maintain consistent temperature: Use the tank’s temperature controller to keep asphalt at 150–200°C (depending on grade). Avoid letting temperatures drop below 140°C—set a low-temperature alarm to trigger alerts if heat is lost.
Circulate asphalt regularly: If the tank is not in use (e.g., overnight), run the circulation pump for 10–15 minutes every 4 hours to prevent asphalt from settling. For long idle periods (1+ week), add a small amount of asphalt thinner (per manufacturer guidelines) to keep the material fluid.
Clean pump strainers: Pumps have inlet strainers to catch sediment. Remove and clean strainers daily (or after each use) with a wire brush—clogged strainers reduce flow and can burn out the pump motor.
2. Monthly Blockage Maintenance
Inspect heating coils/tubes: Use a thermal camera to check if heating coils (e.g., in direct-fire or steam-heated tanks) are operating evenly. Cold spots indicate sediment buildup—turn off the heater, drain the tank partially, and use a high-pressure water jet (with hot water, 80–90°C) to clear coils.
Clear pipe elbows and valves: Elbows, valves, and tees are high-risk areas for blockages. Disassemble these components monthly (when the tank is low on asphalt) and scrape away any solidified asphalt with a plastic scraper (avoid metal, which can damage pipes).
Test emergency bypass lines: Most tanks have bypass lines to reroute asphalt if the main line clogs. Open and close bypass valves monthly to ensure they move freely; lubricate valve stems with high-temperature grease (rated for 200°C).
LATESTS NEWS
sphalt Tank Insulation and Anti-Corrosion Design: How to Reduce Heat Loss and Extend Equipment Service Life
2026-01-09
Asphalt Tank Core Structure Analysis: Design Key Points of Insulation Layer, Heating System and Agitation Device
2025-12-15
Asphalt Tank Selection Guide: Core Decision Factors from Capacity and Material to Heating Method
2025-12-02
Emulsified Asphalt Equipment Selection Guide: How to Match Colloid Mill Types and Production Capacity to Road Construction Needs?
2025-11-24


