Professional manufacturer of asphalt equipment
Asphalt Tank Safe Operation Specifications: Mandatory Procedures for Pressure Monitoring, Fire & Explosion Prevention, and Personnel Protection
Release Date:
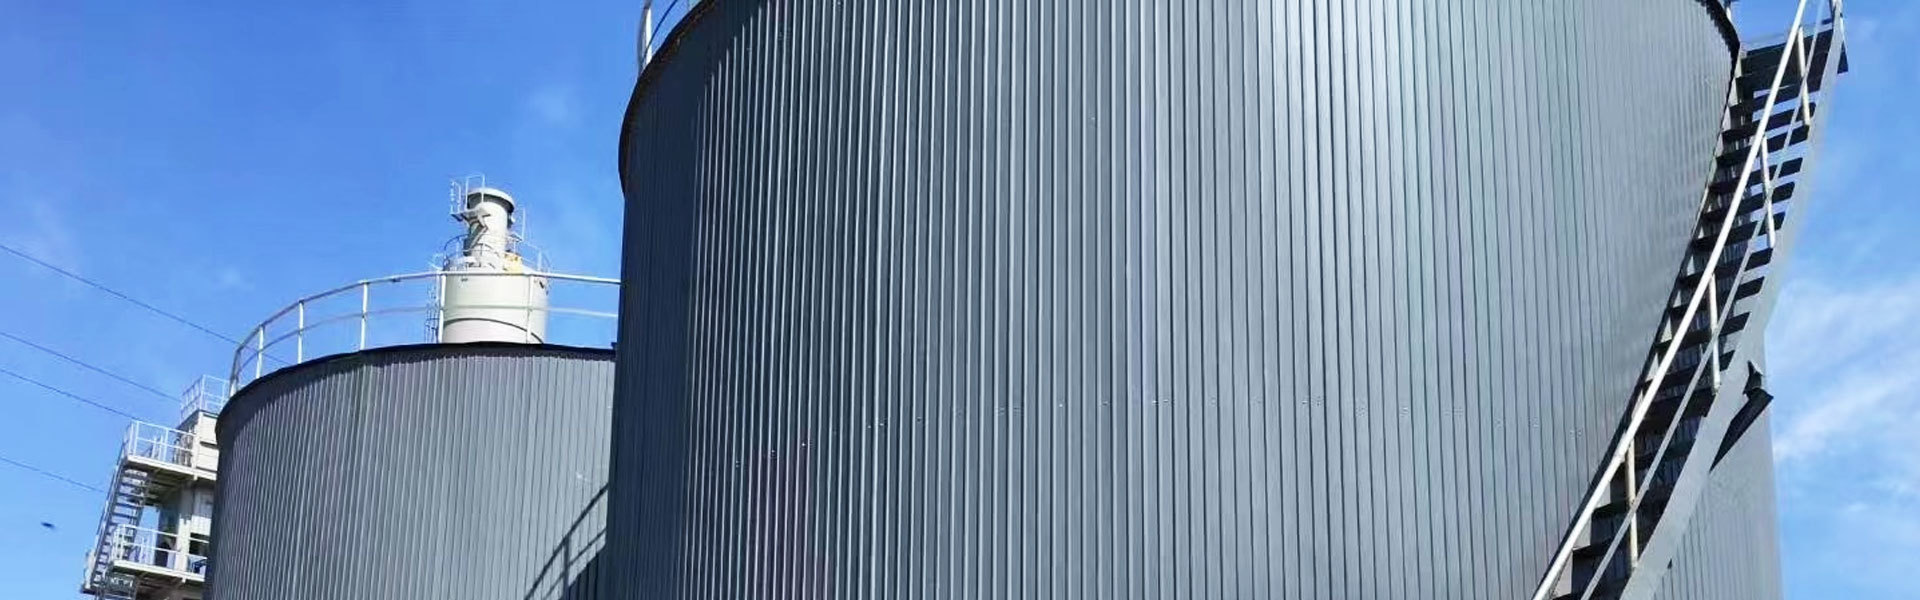
Asphalt tanks operate in high-temperature (120-180°C) and semi-closed environments, where pressure anomalies, ignition sources, or improper personnel protection can trigger catastrophic accidents—such as tank rupture from overpressure (resulting in asphal
Asphalt tanks operate in high-temperature (120-180°C) and semi-closed environments, where pressure anomalies, ignition sources, or improper personnel protection can trigger catastrophic accidents—such as tank rupture from overpressure (resulting in asphalt spills and equipment damage), fire from vapor ignition (causing average losses of $20,000+ per incident), or scalds to operators (leading to long-term injury and project delays). Industry safety data shows that 90% of asphalt tank accidents are avoidable through strict compliance with mandatory operation procedures. This specification establishes non-negotiable standards for pressure monitoring, fire & explosion prevention, and personnel protection, with clear step-by-step guidance, risk thresholds, and emergency protocols to ensure zero safety incidents during daily operation.
1. Pressure Monitoring: Mandatory Procedures to Control Overpressure Risks
Asphalt tanks generate internal pressure due to the evaporation of volatile components in heated asphalt. Exceeding the safe pressure limit (0.1-0.15 MPa for most industrial tanks) can cause weld fatigue, tank deformation, or even explosion. Pressure monitoring requires a "three-stage lifecycle check" (pre-operation, in-operation, post-operation) with strict recording, calibration, and anomaly response rules.
1.1 Pre-Operation Pressure System Inspection (Mandatory 15 Minutes Before Startup)
Before activating the heating system, conduct a comprehensive inspection of all pressure-related components to eliminate initial risks:
Pressure Gauge Validation: Confirm the gauge is within its 3-month calibration period (check the calibration sticker) and has no physical defects (cracked glass, bent pointer). Tap the gauge lightly—if the pointer deviates from zero by more than 0.01 MPa (or fails to return to zero), replace it immediately with a calibrated backup gauge (keep at least 2 spares on-site). For digital pressure gauges, verify the display is clear and the battery level is above 50% (low battery can cause inaccurate readings).
Pressure Relief Valve (PRV) Function Test: Manually lift the PRV’s test lever for 3-5 seconds—you must hear a consistent "hissing" sound (indicating pressure release) and the valve must seal tightly with no leakage when the lever is released. If the valve is stuck (no sound) or leaks, disassemble the valve body (use manufacturer-provided tools) to remove asphalt residues or rust from the valve seat; if damage is found (e.g., worn O-rings), replace the valve core with a compatible part (never use non-original components, as they may not meet pressure standards).
Vent Pipe and Pressure Port Check: Inspect the vent pipe (minimum diameter 50mm) for blockages—use a flexible steel probe (length ≥ 1.5m) to clear debris (e.g., asphalt clumps, leaves) and ensure unobstructed airflow. Check the pressure measurement port (where the gauge connects to the tank) for asphalt buildup—wipe it clean with a heat-resistant cloth (avoid using sharp tools that could damage the port threads). A blocked vent pipe or port is the leading cause of sudden pressure spikes, so this step is non-negotiable.
1.2 In-Operation Pressure Monitoring (Real-Time Tracking with Tiered Response)
During heating and asphalt storage, monitor pressure at fixed intervals and respond to anomalies based on risk levels:
Routine Monitoring (Normal Operation): Record the pressure gauge reading every 30 minutes in a dedicated "Asphalt Tank Pressure Log" (include date, time, operator name, and pressure value). The normal operating range is 0.02-0.08 MPa. If pressure remains within this range, continue operation but confirm the heating system’s temperature controller is set to ≤ 180°C (temperatures above this increase volatile evaporation and pressure buildup).
Early Warning Response (Pressure = 0.1 MPa): When pressure reaches the early warning threshold (0.1 MPa), take immediate action to prevent further increase:
Turn off the heating system (electric heaters or fuel burners) to stop pressure generation—never attempt to "adjust" the system while pressure is rising.
Open the manual vent valve (located 1.2-1.5m above ground for easy access) halfway—opening it fully causes rapid pressure drops, which can lead to asphalt foaming and overflow (risking scalds).
Inspect the vent pipe again for blockages—if airflow is weak, use compressed air (0.3 MPa) to blow out debris. Once pressure drops to 0.08 MPa, close the vent valve and restart the heating system at a reduced temperature (160-170°C).
Critical Emergency Response (Pressure ≥ 0.12 MPa): If pressure reaches the critical threshold (0.12 MPa), the PRV should activate automatically. If it fails to open:
Pull the PRV’s emergency handle (red-colored, labeled "Emergency Pressure Relief") to manually release pressure—stand sideways to the valve (not directly in front) to avoid asphalt spray.
Evacuate all personnel from the 10-meter "danger zone" around the tank—pressure relief can cause asphalt splashes or loud noise.
Once pressure drops to 0.06 MPa, shut down the entire system and conduct a root-cause analysis (check for failed temperature sensors, blocked heating tubes, or excessive asphalt filling—never exceed 85% of the tank’s total capacity, as this reduces vapor space and increases pressure).
1.3 Post-Operation Pressure Release (Mandatory Before Shutdown)
After completing asphalt discharge, residual pressure can strain the tank’s structure if not properly released:
Gradual Pressure Dissipation: Maintain the tank at 80-100°C for 1 hour to allow volatile components to condense—this reduces pressure naturally without sudden temperature shocks.
Final Pressure Check: Open the manual vent valve fully and wait until the pressure gauge reads 0 MPa (typically 15-25 minutes). Use a thermal imaging camera (if available) to check for hot spots on the tank surface—any area above 120°C indicates residual heat that could reintroduce pressure.
Valve Closure and Logging: Close the vent valve only when pressure is confirmed to be 0 MPa, and record the shutdown time, final pressure, and any observations (e.g., "No residual pressure, tank surface cool to touch") in the operation log. Never leave residual pressure in the tank overnight—this can cause long-term weld damage and increase the risk of leaks.
2. Fire & Explosion Prevention: Mandatory Measures to Eliminate Ignition Sources
Asphalt vapor (generated at temperatures above 120°C) is flammable and can ignite with minimal energy (e.g., a small spark from electrical equipment). Fire & explosion prevention requires a "two-layer defense system": eliminating ignition sources in the hazard zone and preparing rapid emergency response measures to contain fires.
2.1 Ignition Source Control (Zero Tolerance for Fire Risks)
No-Fire Zone Enforcement: Establish a 10-meter radius "no-fire zone" around the asphalt tank, marked with high-visibility yellow warning tape and weather-resistant signs (e.g., "DANGER—NO OPEN FLAMES, NO SMOKING, EXPLOSION HAZARD"). Install two types of detectors within this zone:
Heat detectors (set to trigger at 60°C, well below asphalt’s ignition temperature of 230°C) to alert to abnormal temperature rises.
Gas detectors (calibrated to detect asphalt vapor concentrations above 10% of the lower explosive limit) to warn of vapor buildup.
Prohibit all open flames (lighters, torches, welding) in the zone—conduct pre-shift checks of workers’ personal items (e.g., no lighters in pockets) and assign a dedicated safety officer to monitor compliance. If hot work (e.g., pipe repair) is unavoidable:
Obtain a written "Hot Work Permit" from the site manager (valid for 8 hours only).
Clear all flammable materials (asphalt rags, paper, fuel cans) from the 5-meter area around the work site.
Station a worker with a 4kg dry powder fire extinguisher (rated for Class B fires) at the site during the entire hot work period, and monitor the area for 30 minutes after work ends (to prevent smoldering fires).
Electrical Safety Compliance: All electrical equipment in the no-fire zone (motors, switches, lighting, cables) must be certified as explosion-proof (rating Ex d IIB T4, suitable for flammable vapor environments). Conduct weekly electrical inspections:
Check cable insulation for cracks, cuts, or wear—replace any damaged cables with explosion-proof rated ones (minimum voltage rating 600V).
Tighten loose terminal connections (using a torque wrench) to prevent arcing (loose connections generate heat and sparks).
Ensure junction boxes are sealed with explosion-proof gaskets—no gaps or missing bolts (vapor can enter and ignite inside the box).
If an electrical fault occurs (e.g., a motor emits smoke), turn off the main power switch (located 5 meters outside the no-fire zone for safety) and use non-sparking tools (brass or bronze, never iron) for repairs—iron tools can create sparks when striking metal surfaces.
Static Electricity Mitigation: Asphalt flowing through pipes generates static electricity, which can discharge and ignite vapor. Implement these mandatory static control measures:
Install static grounding clamps on both the tank and the asphalt discharge pipe—connect the clamps to a dedicated copper grounding rod (diameter ≥ 16mm, buried 1.5m deep in moist soil). Measure the grounding resistance daily with a tester—must be ≤ 10Ω (higher resistance means static cannot dissipate effectively).
Use conductive hoses for asphalt discharge (resistivity ≤ 10⁶ Ω·m)—non-conductive hoses (e.g., rubber) trap static and increase discharge risk.
When connecting the discharge pipe to a truck or mixer: first attach the grounding clamp to the receiving equipment, wait 1 minute for static to dissipate, then open the valve. After discharge, close the valve first, wait 5 minutes, then disconnect the clamp—never disconnect the clamp while asphalt is flowing.
2.2 Fire-Fighting Preparedness (Immediate Response Capability)
On-Site Fire-Fighting Equipment Configuration: Equip the tank area with the following mandatory tools, placed within 3 meters of the tank (no obstacles, clearly labeled with reflective tags):
4kg dry powder fire extinguishers (minimum 4 units per tank, Class B/C rated—suitable for oil and electrical fires). Check the pressure gauge monthly—must be in the green zone (if in red, replace immediately).
A mobile foam generator (flow rate ≥ 20 L/min) connected to a dedicated water source (pressure ≥ 0.4 MPa)—foam smothers asphalt flames by creating a barrier between vapor and oxygen. Test the generator monthly to ensure foam is produced consistently (no gaps or thin streams).
A fire blanket (1.5m × 1.5m, heat-resistant to 500°C) stored in a wall-mounted case—use for small spills (e.g., asphalt splashes on hot surfaces) to prevent ignition.
A 50-meter length of fire hose (diameter 50mm) with a spray nozzle—for cooling the tank surface during large fires (water spray prevents tank overheating and rupture).
Emergency Fire Response Protocol: If a fire breaks out, follow this mandatory sequence (trained into all operators via monthly drills):
Sound the site alarm (pull the red emergency cord located at the tank’s control panel) to alert all personnel—announce "Asphalt tank fire, evacuate to assembly area" over the site PA system.
Evacuate non-essential personnel to the pre-designated assembly area (50 meters upwind from the tank) and assign a worker to count heads—never allow anyone to re-enter the hazard zone without permission.
For small fires (e.g., spill on the ground < 1m²):
Grab a dry powder extinguisher, stand 2-3 meters upwind from the fire, and aim at the base of the flame (not the top).
Sweep the extinguisher nozzle side to side until the fire is out—continue spraying for 10 seconds after flames disappear to prevent re-ignition.
For large fires (e.g., tank surface or vapor fire):
Activate the foam generator and direct the foam stream to cover the entire tank surface (start at the bottom and move upward—foam is heavier than air and will settle).
Use the fire hose to spray water on the tank’s exterior (keep the stream as a fine spray, not a direct jet—direct water can cool the tank too quickly and cause cracking).
Call the local fire department immediately (provide exact location, tank capacity, and fire type: "Asphalt tank fire, 50m³, vapor ignition")—do not attempt to extinguish large fires alone.
After the fire is extinguished, cool the tank to ≤ 80°C (use a thermal imaging camera to check) before inspecting for damage—never enter the area until a safety officer confirms it is safe.
LATESTS NEWS
sphalt Tank Insulation and Anti-Corrosion Design: How to Reduce Heat Loss and Extend Equipment Service Life
2026-01-09
Asphalt Tank Core Structure Analysis: Design Key Points of Insulation Layer, Heating System and Agitation Device
2025-12-15
Asphalt Tank Selection Guide: Core Decision Factors from Capacity and Material to Heating Method
2025-12-02
Emulsified Asphalt Equipment Selection Guide: How to Match Colloid Mill Types and Production Capacity to Road Construction Needs?
2025-11-24


